Cohesity started with data protection and management for virtual machines and can also help customers who have valuable data and applications in physical servers. Like every other physical backup product, there is an agent to install and then register with the Cohesity cluster. We will take a quick walk through this simple process. Then we will see that once the Cohesity cluster knows about your physical machines, data protection and recovery is just as simple as on virtual machines. You can watch me walk through the process in this video.
Disclosure: This post is part of my work with Cohesity.
We download the agent installer from the Cohesity cluster, in the Protection page. There are agents for Windows and various distributions of Linux, as well as a couple of older enterprise Unix platforms.
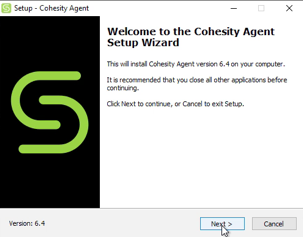
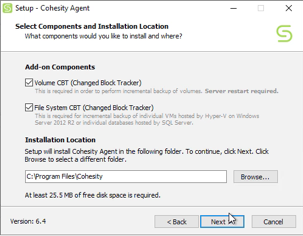
The Cohesity user guide includes information about silently installing the agent, which you could use to integrate with your favorite software deployment tool. In my previous video, I showed you how to use Ansible to deploy and register the agent and even setup protection. Manual installation is simple, with the only real option the choice of whether to install the file level or volume level protection drivers, I chose to have both to maximize my future data protection flexibility.
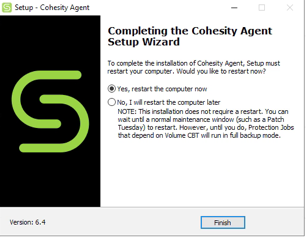
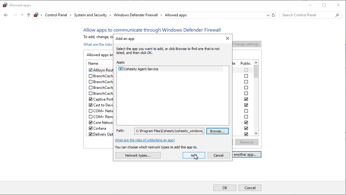
The physical server needed a restart to enable those drivers and start the Cohesity agent. In my environment, I have the Windows Firewall enabled, the agent installer did not automatically allow access to the Cohesity Agent service, so I added a firewall exception. The Cohesity Cluster connects into the agent for control, rather than the agent connecting out to the cluster.
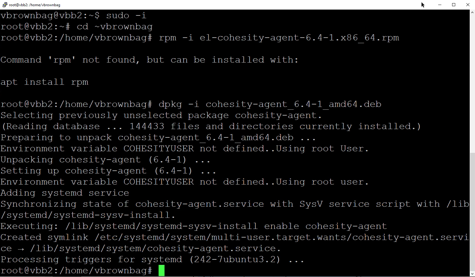
The install on Linux was straightforward, I downloaded the agent from the same page and made sure to get the right package for the Linux distribution that I am using. Once the agent was transferred to my Linux machine, I used the command line from the Cohesity user guide to install the agent.
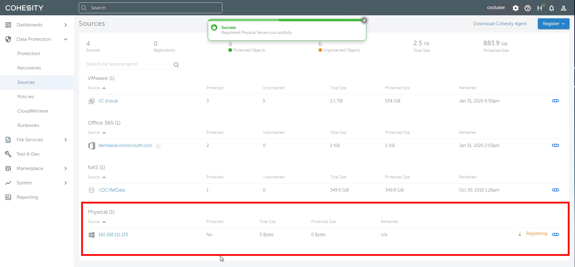
After the agent is installed and available, we add the new physical server by its IP address to the Cohesity cluster, and it is available for protection.
Once the source is defined, setting up a protection job is as simple as ever and uses the same Protection Policies and Storage as any other Cohesity Protection job. I created a file system Protection job for my physical servers and used the Silver policy for protection frequency and retention. The initial backup took over an hour as it scanned every file and protected all of them. Subsequent file system backups will still need to scan for changed files but will only need to protect the ones that actually change. A volume-based backup should be quicker as they use a changed block driver, rather than scanning for changed files.
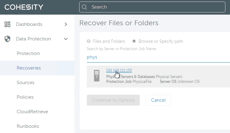
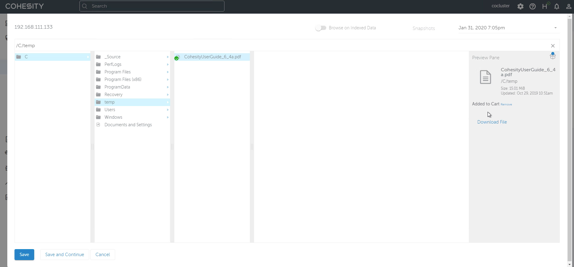
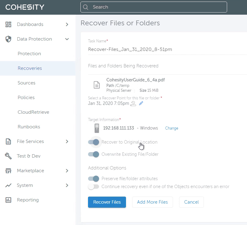
The restore process was the same as any other Cohesity restore, search to find the object you want to restore. I knew the path to the file I wanted to restore, so I searched for the protection run and then browsed the protected file system for the file I wanted. The recovery task took 18 seconds to complete, and my file was back in place almost instantly.
Cohesity data protection for physical servers is easy to configure and use. Once the agent is installed and registered, everything works the same as for VMs. Universal search for restores continues to be a handy capability for handling vague requests for data restores.
© 2020, Alastair. All rights reserved.






 RSS - Posts
What does a bare metal server restore look like?
Bare Metal restore does require third party licensing of Cristie: https://www.cristie.com/solutions/recovery/ which integrates through the marketplace.
Here’s the announcement blog post https://www.cohesity.com/blog/integrated-bare-metal-recovery-with-cristie-bmr-app-on-cohesity-app-marketplace/