
In a vSphere environment, connecting to the “physical” console of a VM is natural. Whether you need to change the BIOS settings or choose to boot from the network or watch the operating system boot, the VM console is a significant part of working with vSphere VMs. I was rather shocked (more AWS surprises here) that the same is not possible with AWS and EC2. There are a bunch of routine operational tasks that you cannot do with EC2 instances: no PXE booting, no attaching ISOs, and no installing your own operating system. Fundamentally, EC2 instances are always deployed from Amazon Machine Images (AMIs), which contain an installed operating system. There is no requirement to attach ISOs before boot or to boot from the network. Usually, all of our remote management is done after the operating system is up and using OS native tools such as SSH and RDP when we need access to an instance.
EC2 Console Access
While you cannot access the instance console interactively, you can still view some information about the instance console without logging on to the guest operating system. In the EC2 service, under the instance Actions menu, you will find options for “Get System Log” and “Get Instance Screenshot.” 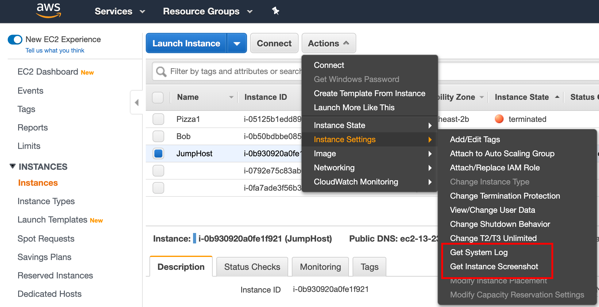
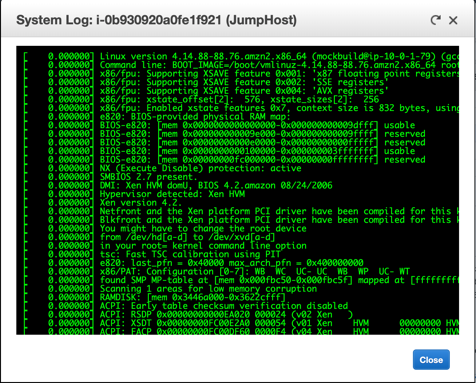
For a Linux instance, the system log is a scrollable history of the text that was displayed on the physical console, a maximum of 64KB of text is available.
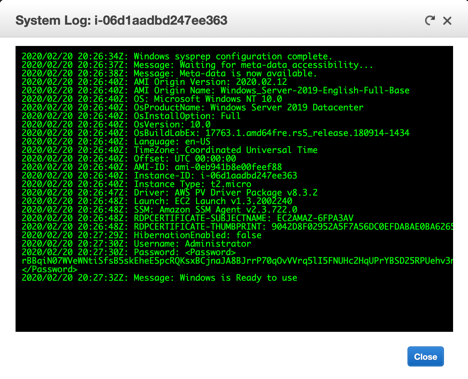
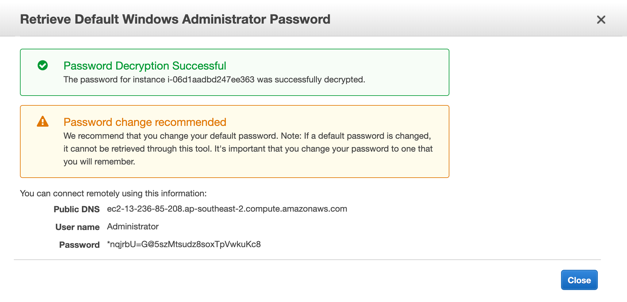
For a Windows instance, there are system startup messages; then, the system log shows the last three error events from the Windows System event log. You might notice that the last few lines appear to show the credentials for the Administrator account, the “password” that is listed is a hash, not the password that you will need.
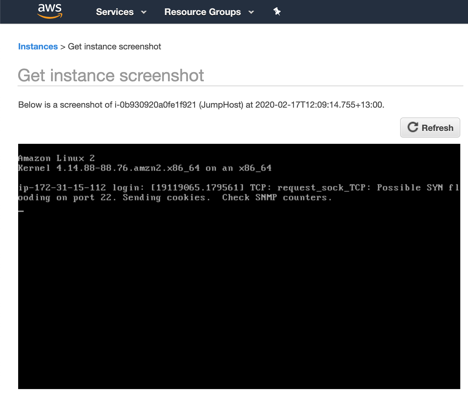
The screenshot is the current “physical” console contents, which can be helpful for viewing error states when the instance is unresponsive.
VM Access
Once your EC2 instance is deployed, if you need to logon and interact with the operating system, you use remote tools. For Linux instances, this is usually SSH, using the built-in ec2-user userID and the key pair that you chose when you created the instance. On my MAC I can follow these instructions, on a Windows machine using PuTTY there us a slightly more painful process. 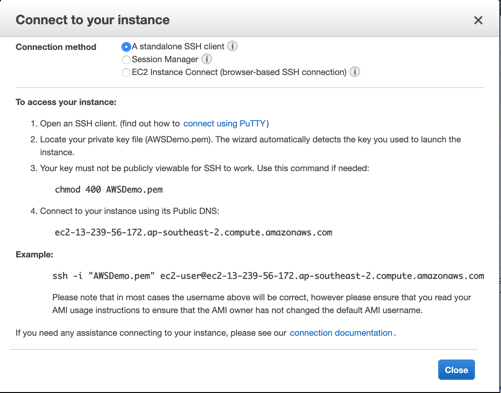
For Windows instances, you must use the key pair to decrypt the administrator password, then RDP using that password.
Keep in mind that this is simply authentication; you also need to be able to reach the instance. My examples are instances in public subnets where there is a public IP address for each instance and a security group that allows remote management network traffic (SSH on TCP 22 or RDP on TCP 3389) from the Internet. A better practice is to have these instances on private subnets and not directly accessible from the Internet. Then you need to first connect to something that is in a public subnet and jump on to the new instance. You might have an RDP gateway or an SSH bastion host in the public subnet; you could even deploy a VPN server in your public subnets.
An increasingly popular way to get to your EC2 instances is with the AWS System Manager Session Manager, and I’ll take a look at that another time.
© 2020, Alastair. All rights reserved.

 RSS - Posts